Adding Servers

Click the controls at the bottom center of the app screen. Press the + button to add a new server connection.
The P button opens the Proxmox server control panel for the selected connection.
Everything you need to add servers, configure credentials, and point Proxnex to the Proxmox API without guesswork.
Create a new connection from the bottom-center controls inside the app.
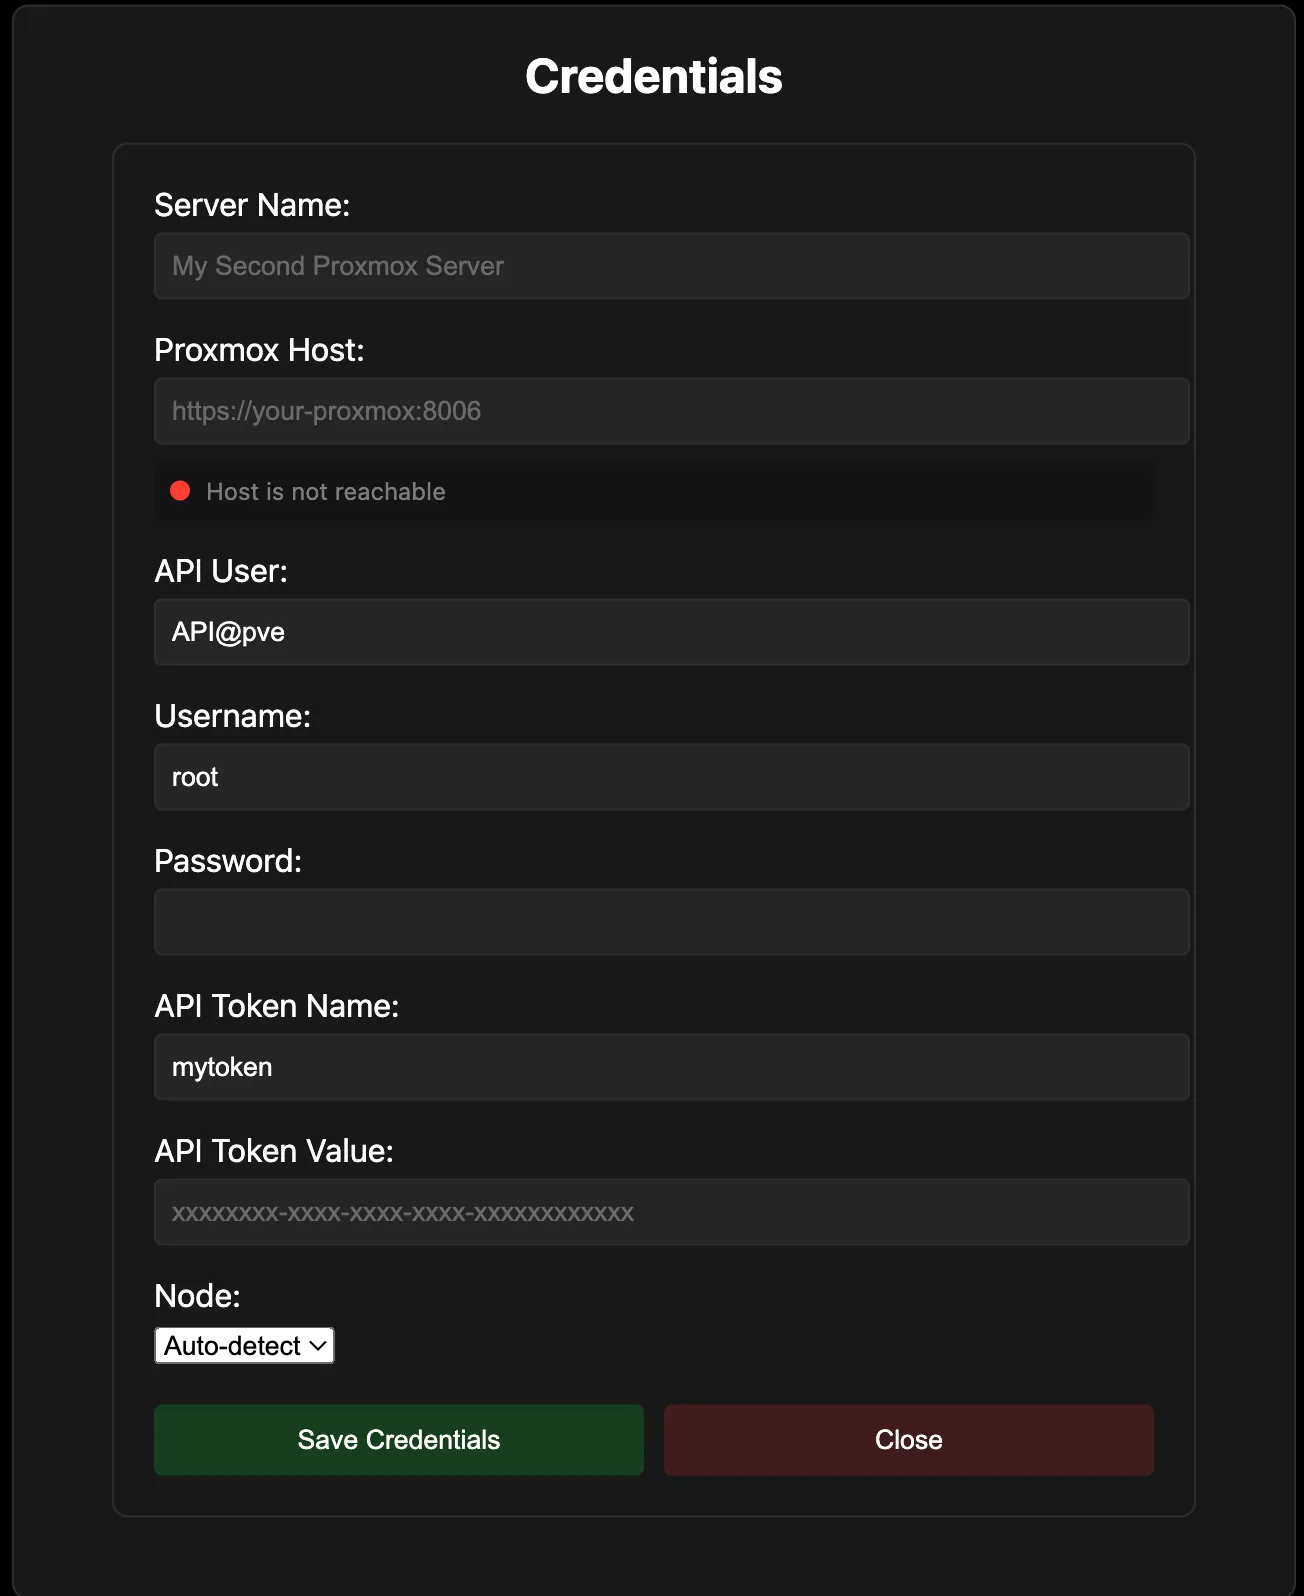
Fill in host, API user, token details, and optional password authentication fields.
Follow the Proxmox API walkthrough if you still need to generate or validate credentials.
The documentation keeps the same dark, technical language as the product so setup feels like part of the experience, not a disconnected page.
Click the controls at the bottom center of the app screen. Press the + button to add a new server connection.
The P button opens the Proxmox server control panel for the selected connection.
New York-2https://<IP-or-FQDN>:8006/api2/jsonAPI@pve.mytoken.root.If you still need to configure or retrieve your Proxmox API credentials, follow the full external guide below.